
Clearances
Bistro Home:
The Wood Stone Bistro Home (BH) models require a minimum 1-inch clearance to combustibles from all sides, and 6-inch clearance to combustibles from the top and 6-inch clearance from the exhaust transition and flue collar. If building a facade that will contact the appliance, use completely non-combustible materials. Any facade wall built 6 inches to either side of the doorway and above must be of non-combustible construction. Please note that standard Drywall (or Sheetrock) is considered a combustible.
This appliance must be installed on a non-combustible floor surface. As with any cooking equipment, we suggest that care be taken when choosing the surfaces in front of the appliance to protect them from potential damage from hot, heavy items that may be removed from the cooking chamber.
Note: For ovens listed to burn wood (those with a “-W” in the model number), the non-combustible floor surface must extend 36 inches in front of, and 30 inches to either side of, the door.
Mountain Home:
The Wood Stone Mountain Home (MH) models require a minimum 1-inch clearance to combustibles from all sides, and 6-inch clearance to combustibles from the top. If building a facade that will contact the appliance, use completely non-combustible materials. Please note that standard Drywall (or Sheetrock) is considered a combustible. Side and top clearance to non-combustibles is 0".
Any facade 6" to either side of the appliance doorway and above must be constructed of non-combustible building materials. WARNING: Do not pack the required air spaces with insulation or other materials.
This appliance must be installed on a non-combustible floor surface. As with any cooking equipment, we suggest that care be taken when choosing the surfaces in front of the appliance to protect them from potential damage from hot, heavy items that may be removed from the cooking chamber.
Note: For ovens listed to burn wood (those with a “-W” in the model number), the non-combustible floor surface must extend 36 inches in front of, and 30 inches to either side of, the door.
Professional Series Grill:
Floor: For use on only on noncombustible floors (installér sur un plancher incombustible seulement). The Professional Series Grill must be installed on a non-combustible floor extending 3 ft. in all directions from the appliance or one provided with a non-combustible covering acceptable to the authority having jurisdiction.
Oven Loads
Finish and Facade Options

Facade-Ready Bistro Home Oven
Stand-Alone - Want a simple installation? Wood Stone Home ovens can be shipped fully assembled and arrive ready to put into place.
Order Facade-Ready - Order your oven "facade-ready' and it will arrive with non-combustible board attached so your contractor can apply your finished surface (brick, stone, tile) when it arrives.
Order Stucco-Ready - Order your oven "stucco-ready" and it will arrive ready to received your stucco application. Note that stucco is recommended for indoor installations only.
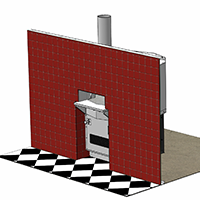
Build into a Wall - For a more custom look, build your Bistro or Mountain Home oven into a facade wall, allowing it to blend into your existing decor.
Facade Extensions - Wood Stone Home offers a wide range of facade extensions for your Mountain Home oven to make your final oven installation behind a wall seamless and attractive.
UTILITY REQUIREMENTS

For specific gas and electrical requirements (BTUs, Amps) please download the spec sheet for the oven you are considering in our Products section.
Some general considerations about utility requirements include:
Wood Stone gas-fired ovens require a minimum ¾” inside diameter for incoming gas lines and fittings (¾” NPT). It is important that all elbows and connections from the gas supply to the oven also maintain at least ¾”, anything smaller than that can restrict gas flow and impact oven performance.
Is the gas pressure too high or too low? Wood Stone ovens require a minimum incoming gas pressure (on NG) of 7” W.C. (water column) and can have up to 14”. Below 7” will affect performance, above 14” will require a regulator before the oven. Please also consider that if the incoming is 7” and there are several other appliances feeding off of the same line, then the real gas pressure at the oven could be less than 7”. Please coordinate this with your gas installer and give us a call with any questions.
Facade Tutorials
Click on each numbered tutorial to download a .pdf of instructions for each type of installation.

Bistro Home
This tutorial covers facade installations where the Bistro Home oven is freestanding and the facade material is applied directly to the oven.

Mountain Home
This tutorial covers flat wall installations utilizing the optional Wood Stone Doorway Facade Extension Flat, Storage Box Extension Flat.

Mountain Home
This tutorial covers oven installations with an optional Mantle, standard Service Panel, with installation on-site of facade underlayment and fabrication of a doorway facade ip to allow for field application of tile, stone or other suitable, non-combustible finish materials

Bistro Home
This tutorial covers flat wall facade installations on Bistro Home ovens.

Mountain Home
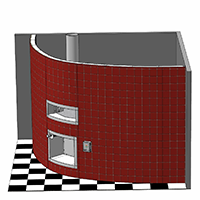
This tutorial covers cylindrical (silo) facade installations, utilizing the optional Wood Stone Doorway Facade Extension Curved - Small Radius and Service Panel Extension Curved - Small Radius.
Mountain Home
This tutorial covers flat wall facade with an optional Mantle and an on-site fabricated doorway extension.
Mountain Home
5. Large Radius Wall with Extensions
This tutorial covers large radius corner wall facade installation utilizing the optional Wood Stone Doorway Facade Extension Curved - Large Radius, Storage Box Extension Curved - Large Radius.

Mountain Home
2. Corner with Facade-Ready Oven Front
This tutorial covers facade installations where the facade walls are built to the sides of the oven, and the oven front is facade-ready. The oven includes an optional Mantle and standard Service Panel.

Mountain Home
6. Flat Wall with Arched Doorway & Service Panel Extension
This tutorial covers flat wall facade installations utilizing the optional Wood Stone Doorway Facade Extension Arched.
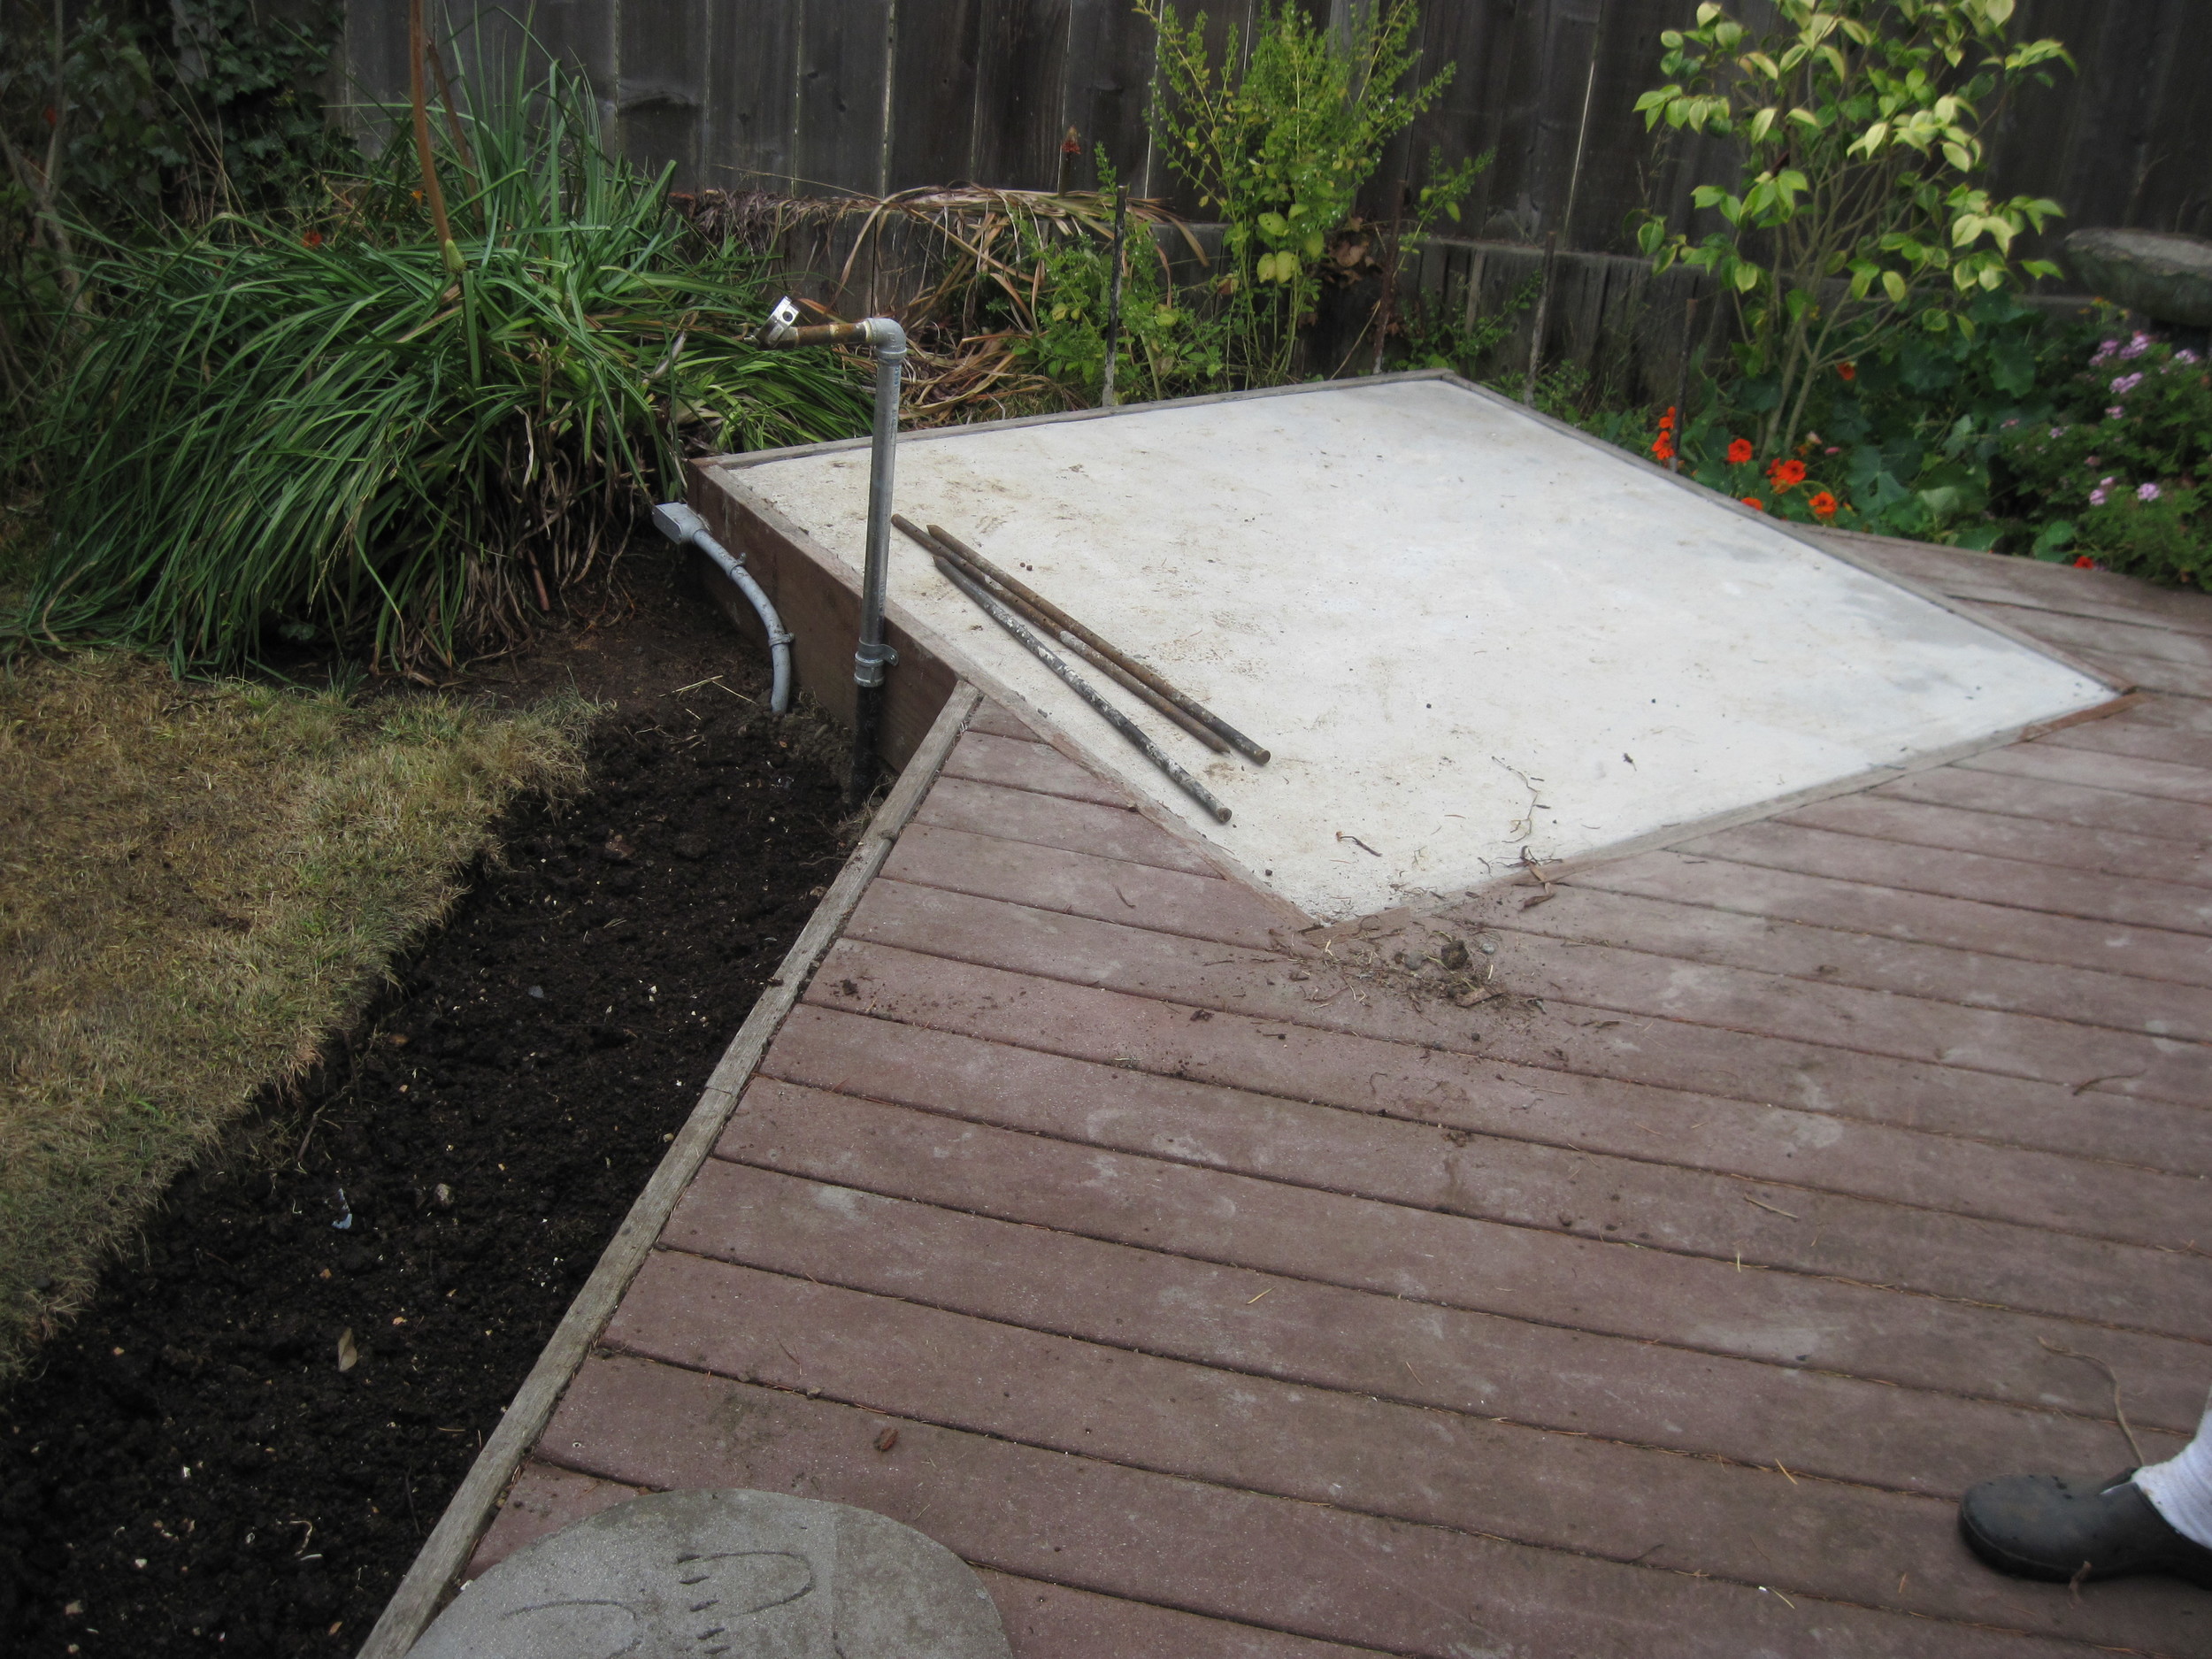
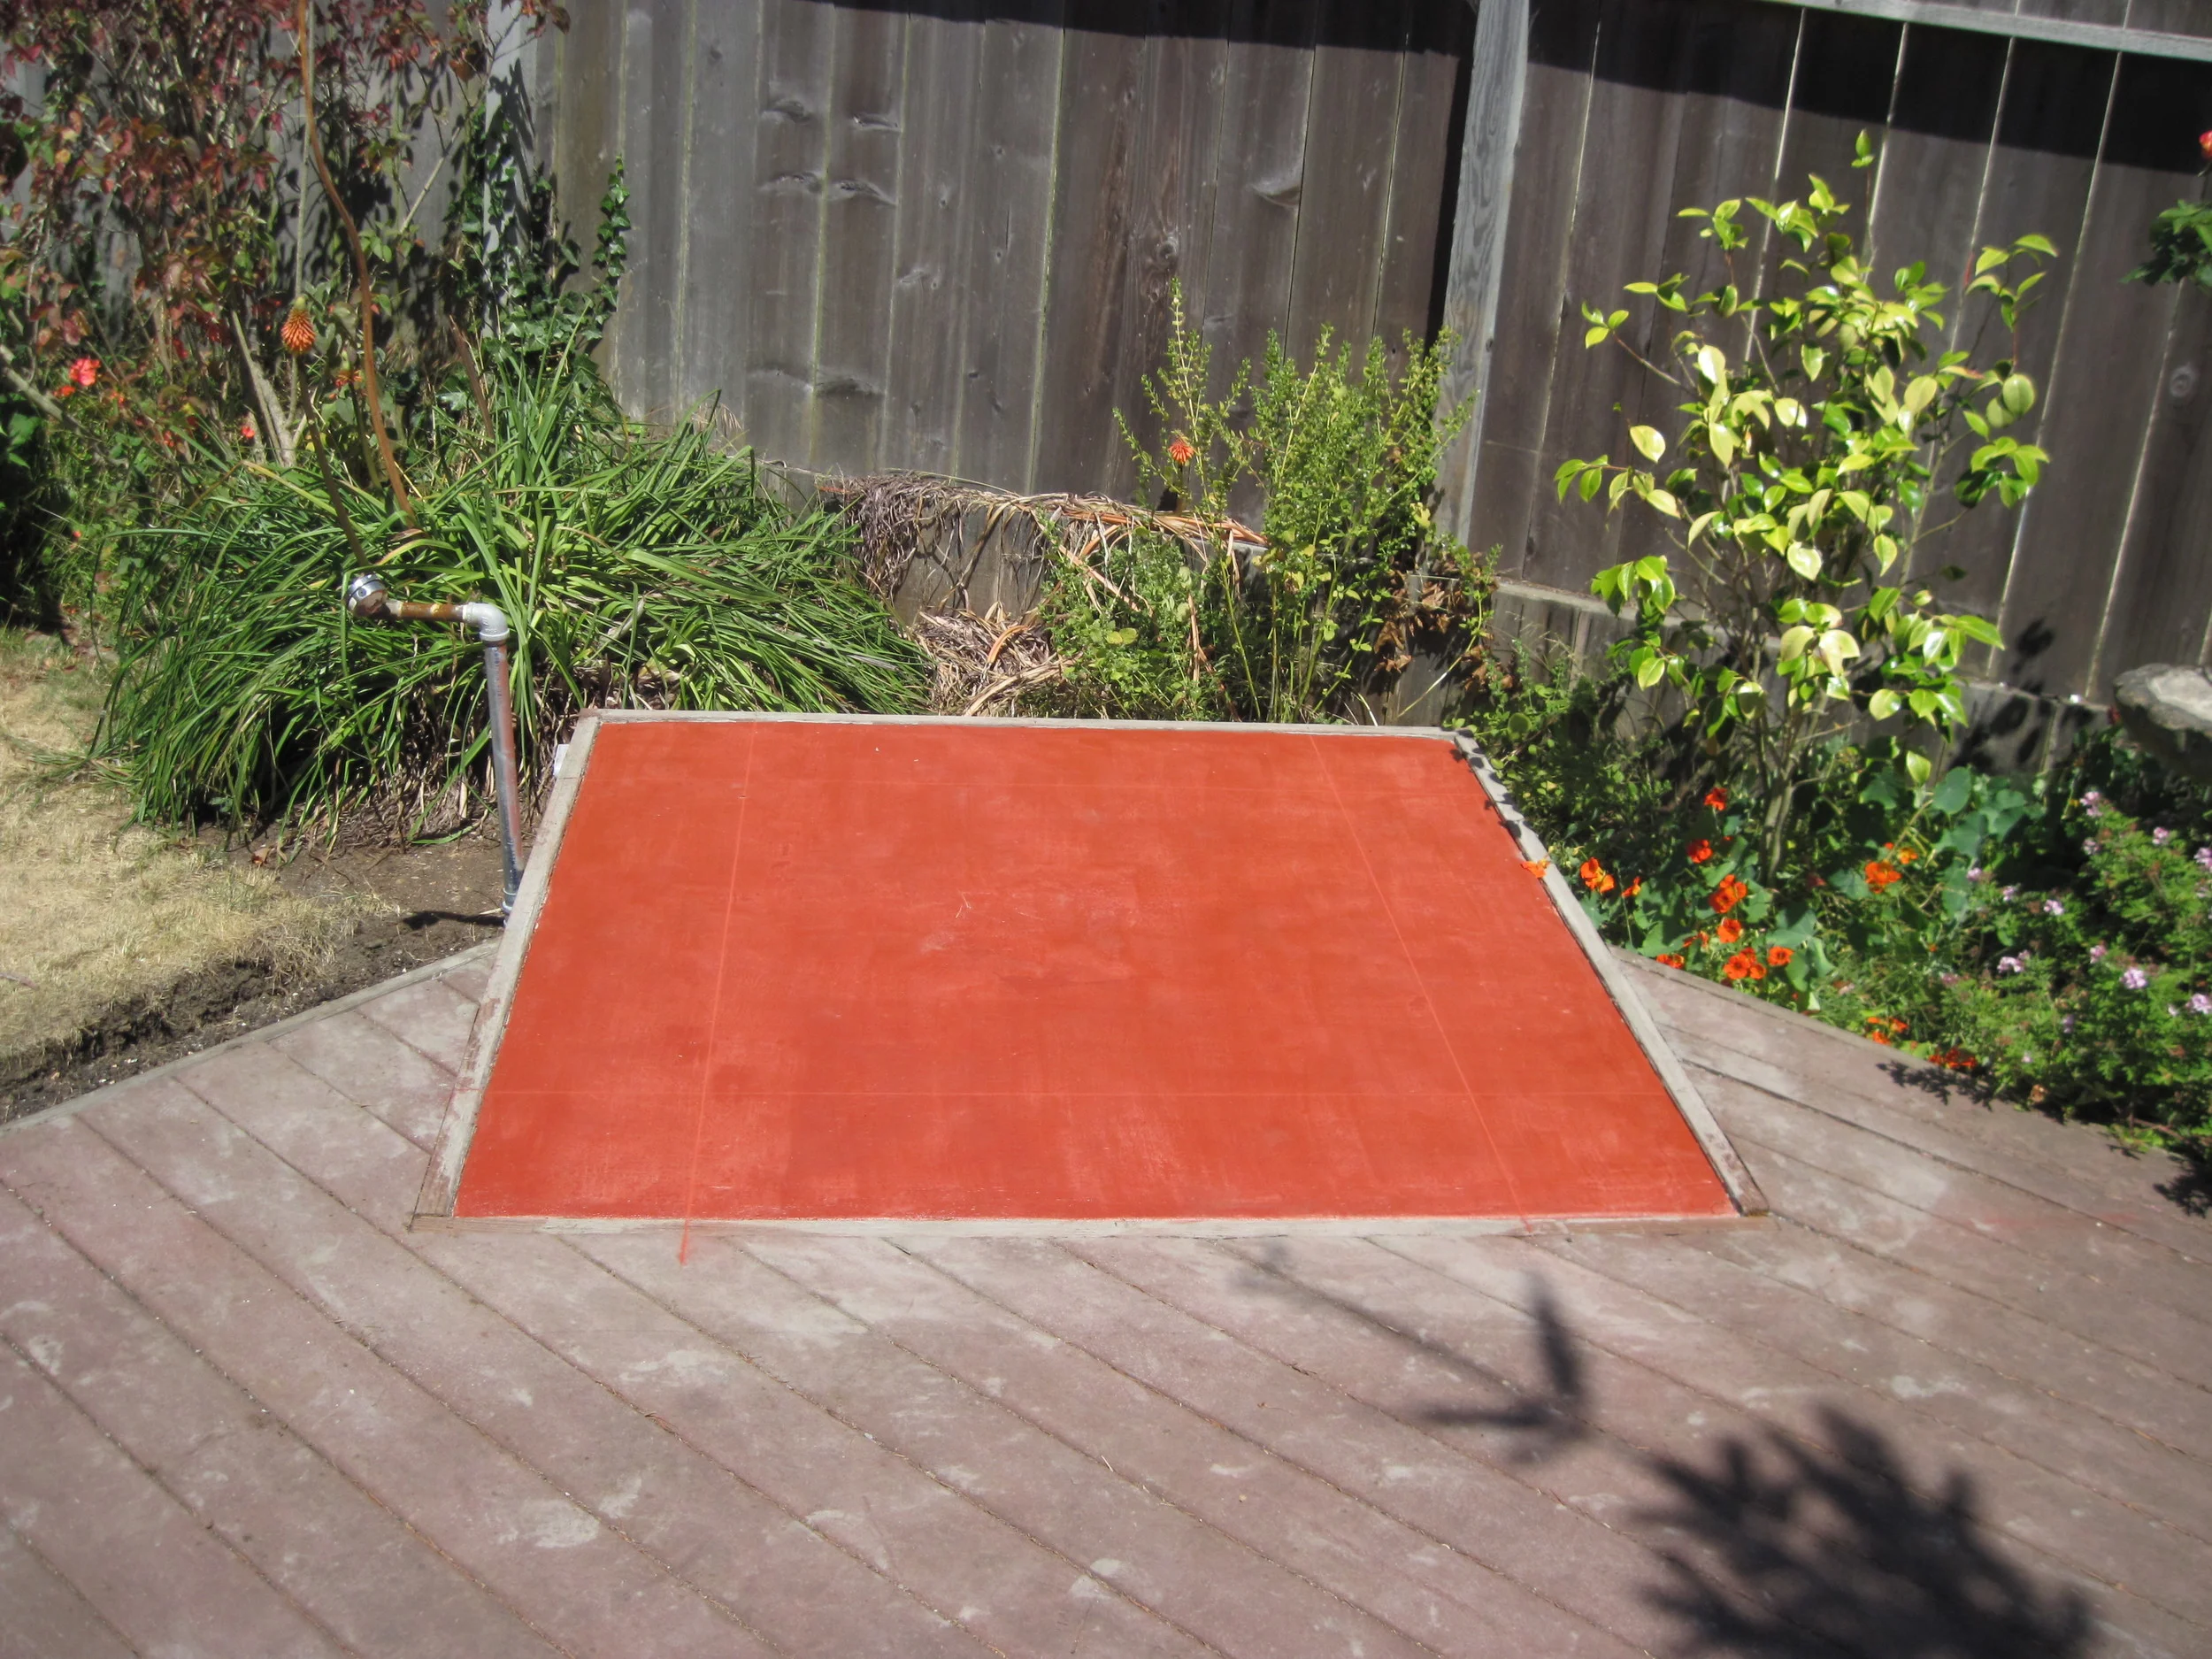
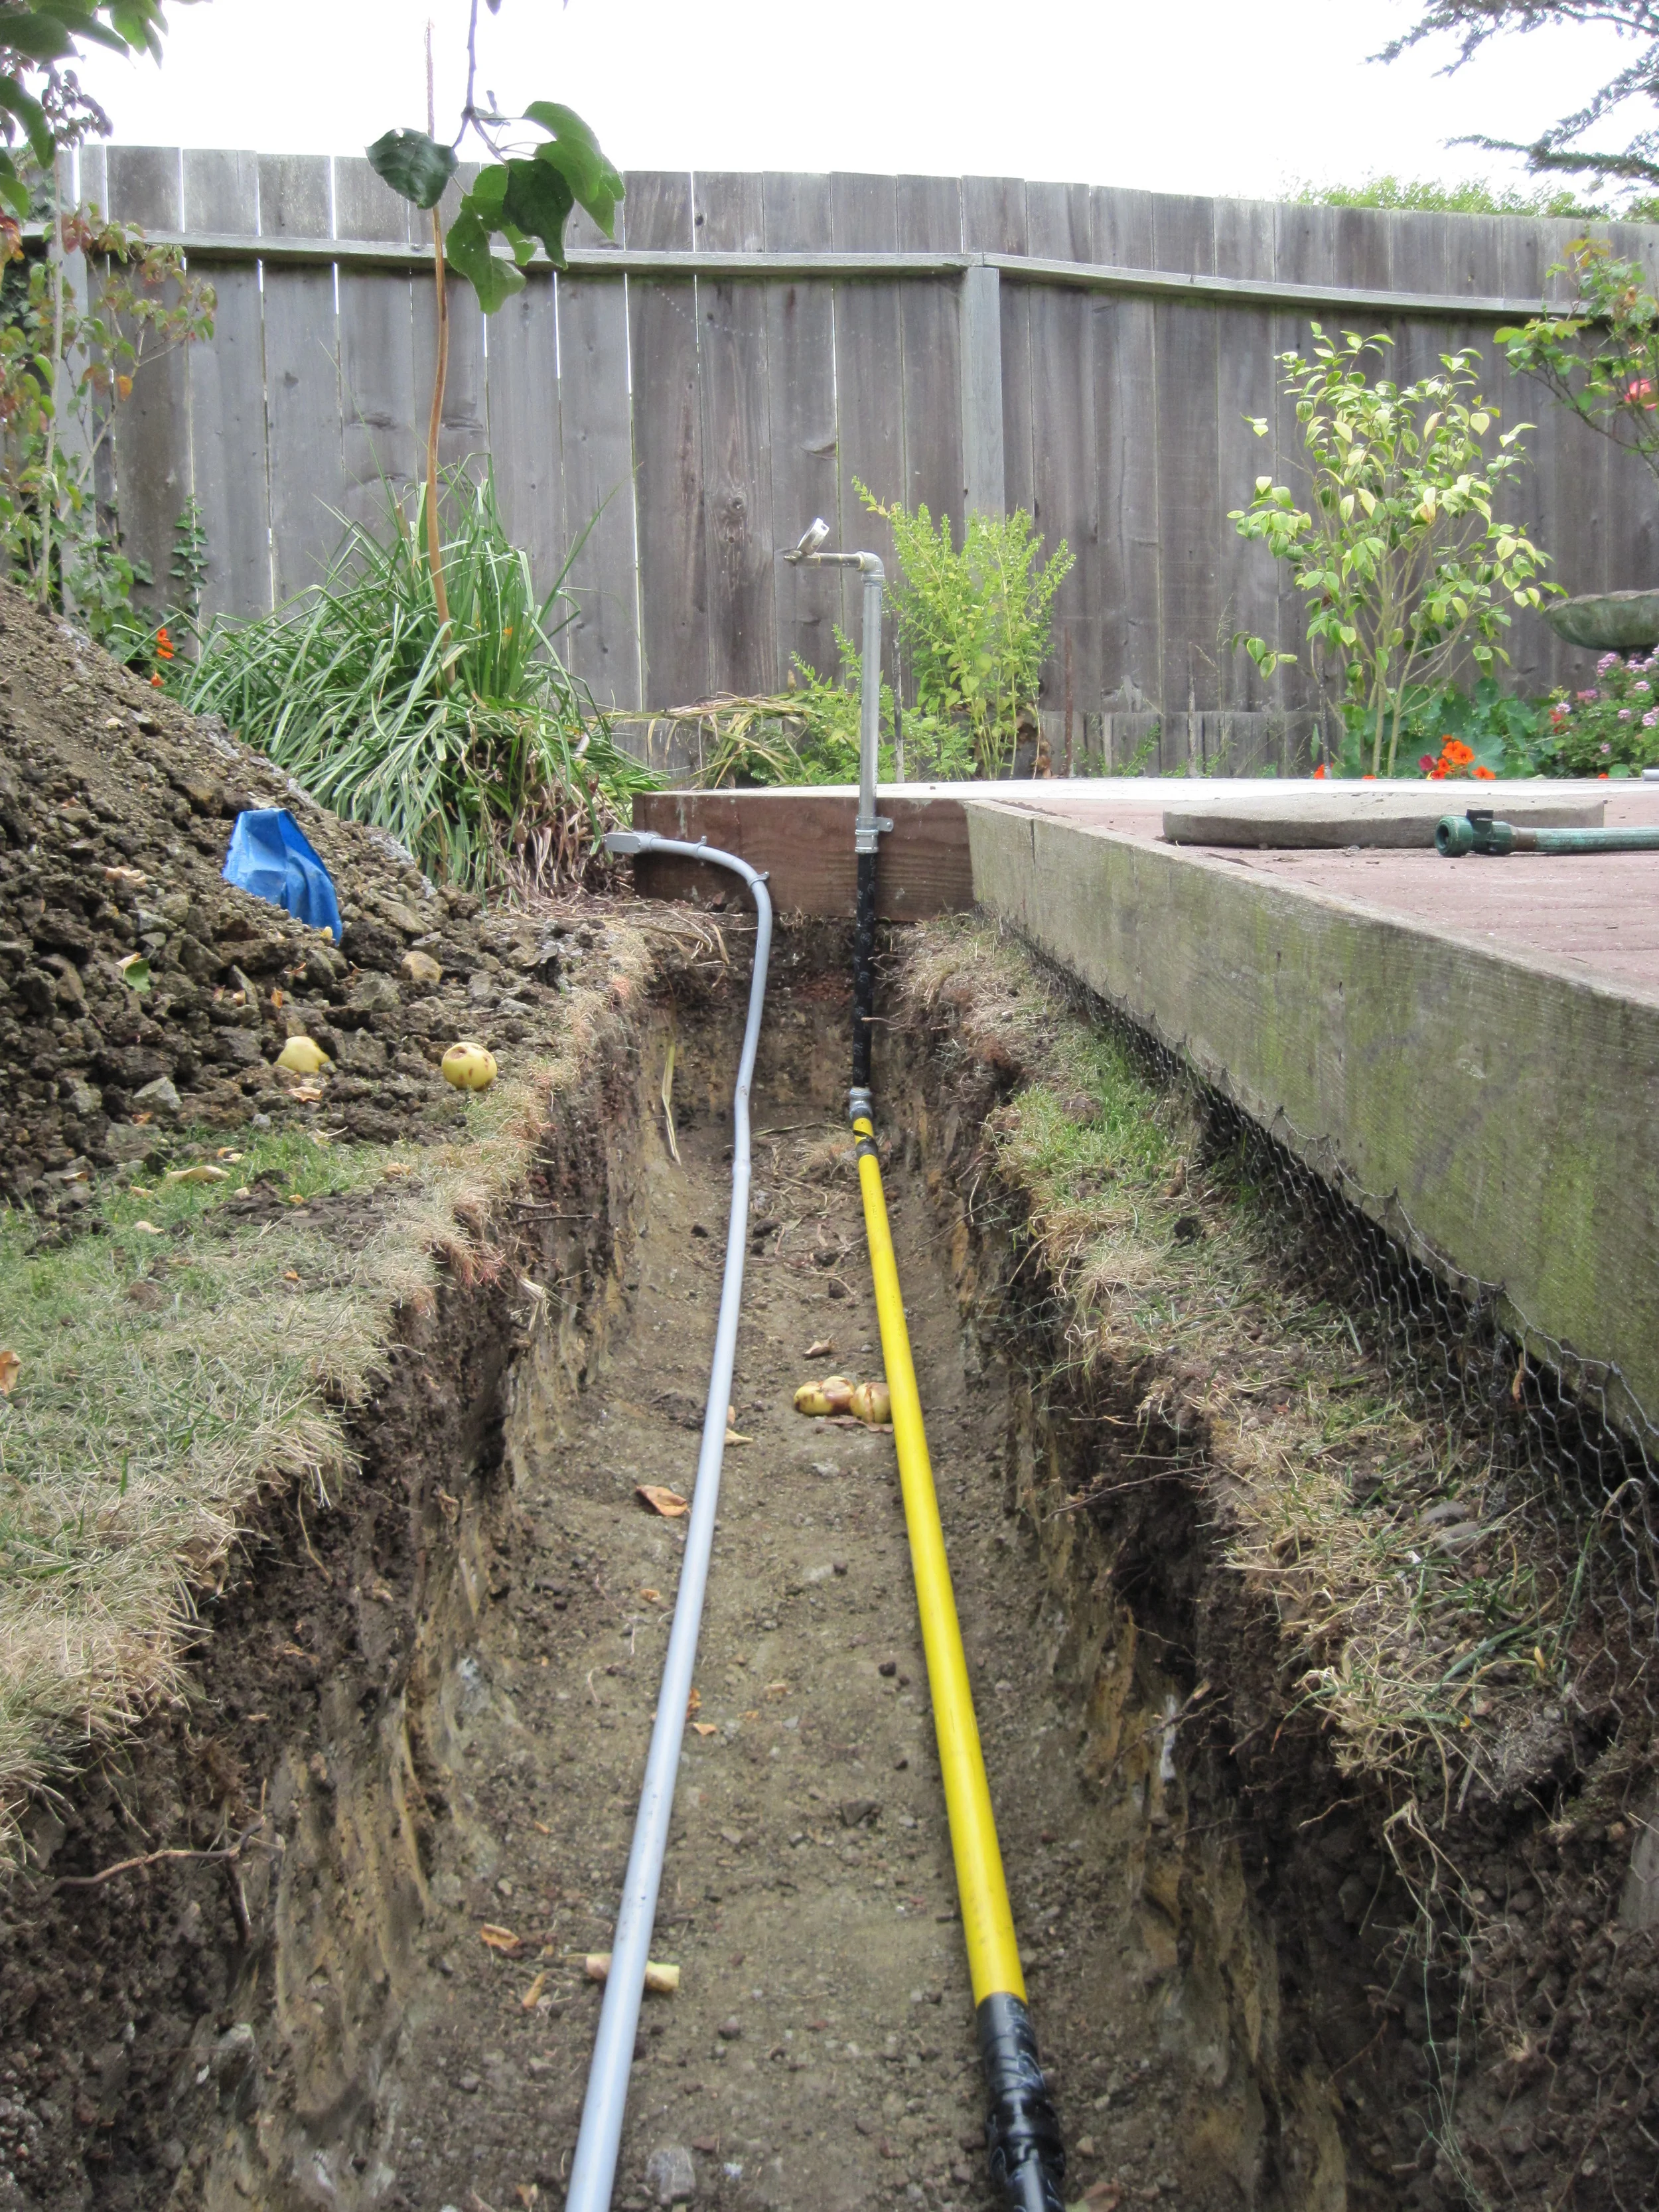
Installation gallery
Photos from a Bay Area installation from prep to finished oven placement.
If you have questions regarding moving your oven via Crane, Forklift or Pallet Jack, please see the Installation & Operation manual for your oven.